Ultimate Tips for Aluminum Ceiling Extrusion Installation?
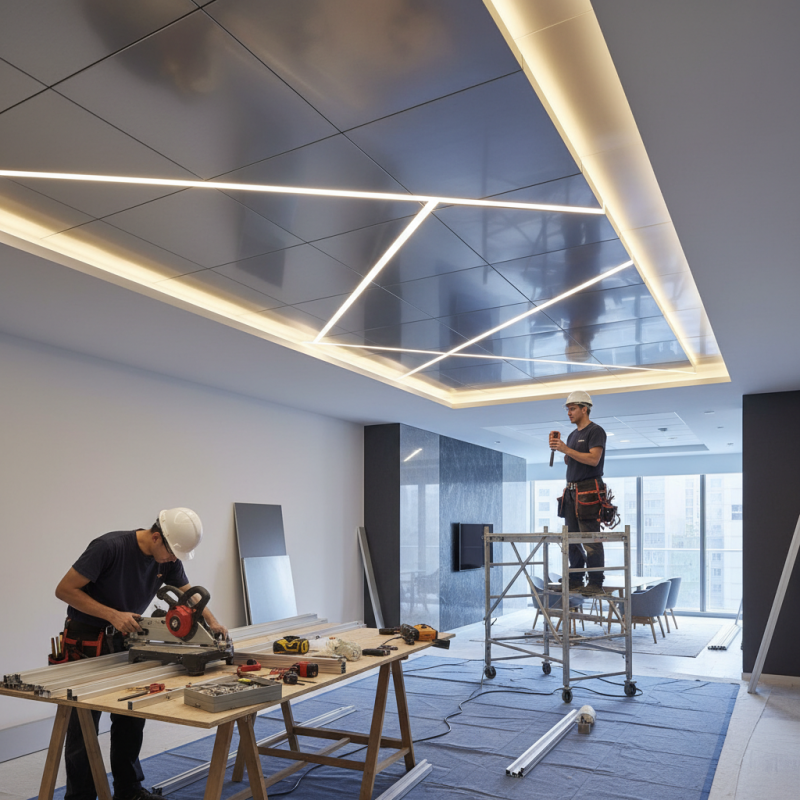
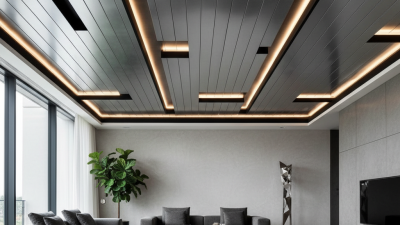
Aluminum Ceiling Extrusion is a popular choice for modern spaces. Experts emphasize its durability and aesthetic appeal. According to John Miller, a renowned specialist in the industry, “Precision in installation can make or break your ceiling project.” This highlights the importance of careful planning and execution in the process.
Installing Aluminum Ceiling Extrusion requires attention to detail. Each piece must be measured precisely. A slight error can lead to misalignment. It's not uncommon for professionals to overlook minor details. This oversight can create challenges in achieving a seamless look.
Experience shows that proper tools are essential. They can save time and ensure quality. However, even skilled installers might face unexpected issues during installation. Reflecting on those challenges helps improve future projects. By learning from mistakes, the installation process becomes more efficient.
Essential Tools and Materials for Aluminum Ceiling Extrusion Installation
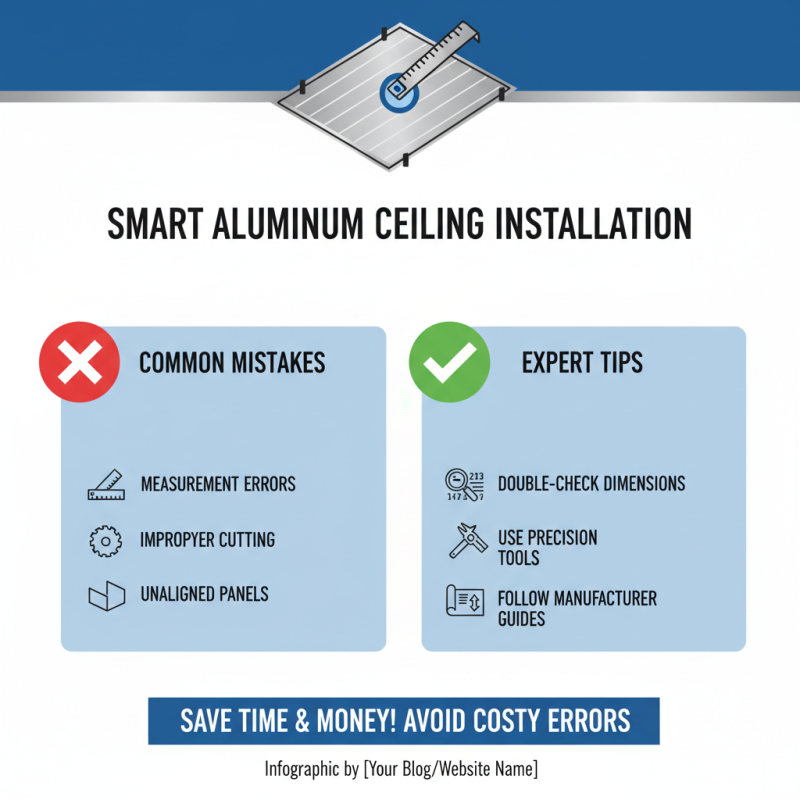
When installing aluminum ceiling extrusions, having the right tools and materials is crucial. Essential tools include a measuring tape, a level, and a miter saw. Accurate measurements are vital. According to industry research, 30% of installation issues arise from incorrect measurements. A quality level ensures the extrusions are straight. Using a miter saw allows precise cutting, which is essential for fitting pieces together accurately.
Materials are equally important. High-quality aluminum extrusions are necessary for durability and performance. Research shows that using inferior materials can reduce the lifespan of installations by up to 50%. Fasteners should match the extrusion type. It's crucial to select corrosion-resistant screws for long-lasting results. A study indicates that improper fastening leads to a 40% increase in maintenance costs over time.
Additionally, consider using sound-dampening materials. Many installations suffer from noise issues, which can be mitigated by including insulation during installation. These details can significantly affect the functionality and aesthetics of the ceiling. However, even with the right tools and materials, installations can still face challenges. It's vital to review the process continuously for improvements.
Ultimate Tips for Aluminum Ceiling Extrusion Installation
Step-by-Step Guide to Installing Aluminum Ceiling Extrusions
Installing aluminum ceiling extrusions can be a rewarding project. Proper installation ensures stability and enhances the aesthetic of any space. According to industry reports, more than 75% of installers encounter issues during the setup process. This emphasizes the need for a clear, step-by-step guide.
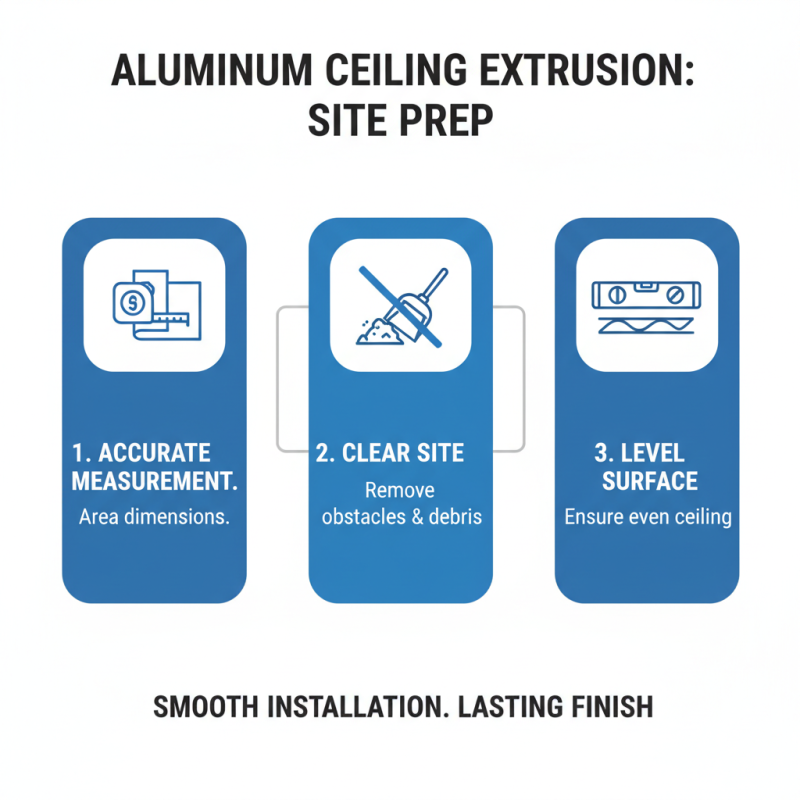
Start by measuring the area where the extrusions will go. Precision is key. Use a reputable level to ensure everything is straight. Mark the positions clearly. You might overlook small details, but they matter in the long run. Proper alignment can save time and frustration later. Remember that over 30% of installation errors stem from inaccurate measurements.
Next, prepare the surface. Cleaning is crucial. Dust and debris can interfere with the adhesive. Applying the extrusions requires a steady hand. Use consistent pressure when securing them. Many technicians suggest applying adhesive evenly to avoid gaps. Even a small misalignment can impact overall quality. After installation, allow adequate time for the adhesive to cure. Rushing this step often leads to complications. Be patient. A well-installed aluminum ceiling not only looks great but also lasts longer.
Maintenance Tips for Long-lasting Aluminum Ceiling Extrusions
Aluminum ceiling extrusions offer a sleek design and durability, but maintenance is crucial for their longevity. Regular cleaning helps prevent dirt accumulation. A simple mixture of mild soap and water can do wonders. Use a soft cloth or sponge to wipe the surfaces. Harsh chemicals can damage the finish, so tread carefully.
Check for signs of wear and tear periodically. Look for scratches or dents that might need attention. If any issues arise, consider minor repairs instead of a full replacement. Repainting can refresh the appearance, but beige paints may not blend well with all colors.
Installation is critical, yet not all setups are perfect. Sometimes, misalignment happens, leading to gaps. Addressing these early prevents more serious issues later. Ensure that the extrusions are sealed properly to avoid moisture issues. Ignoring these details may lead to unwanted repairs down the line. Be proactive and attentive to maintain a flawless look.
Ultimate Tips for Aluminum Ceiling Extrusion Installation - Maintenance Tips for Long-lasting Aluminum Ceiling Extrusions
| Tip Category |
Tip Description |
Maintenance Frequency |
Expected Lifespan |
| Initial Installation |
Ensure even surface and proper alignment of extrusions. |
Once |
20+ years |
| Regular Cleaning |
Clean with a mild detergent and soft cloth. |
Monthly |
N/A |
| Visual Inspection |
Check for any signs of wear or damage. |
Quarterly |
N/A |
| Joint Maintenance |
Inspect and re-seal joints if necessary. |
Annually |
N/A |
| Avoid Abrasives |
Do not use abrasive cleaners that could scratch the finish. |
As needed |
N/A |